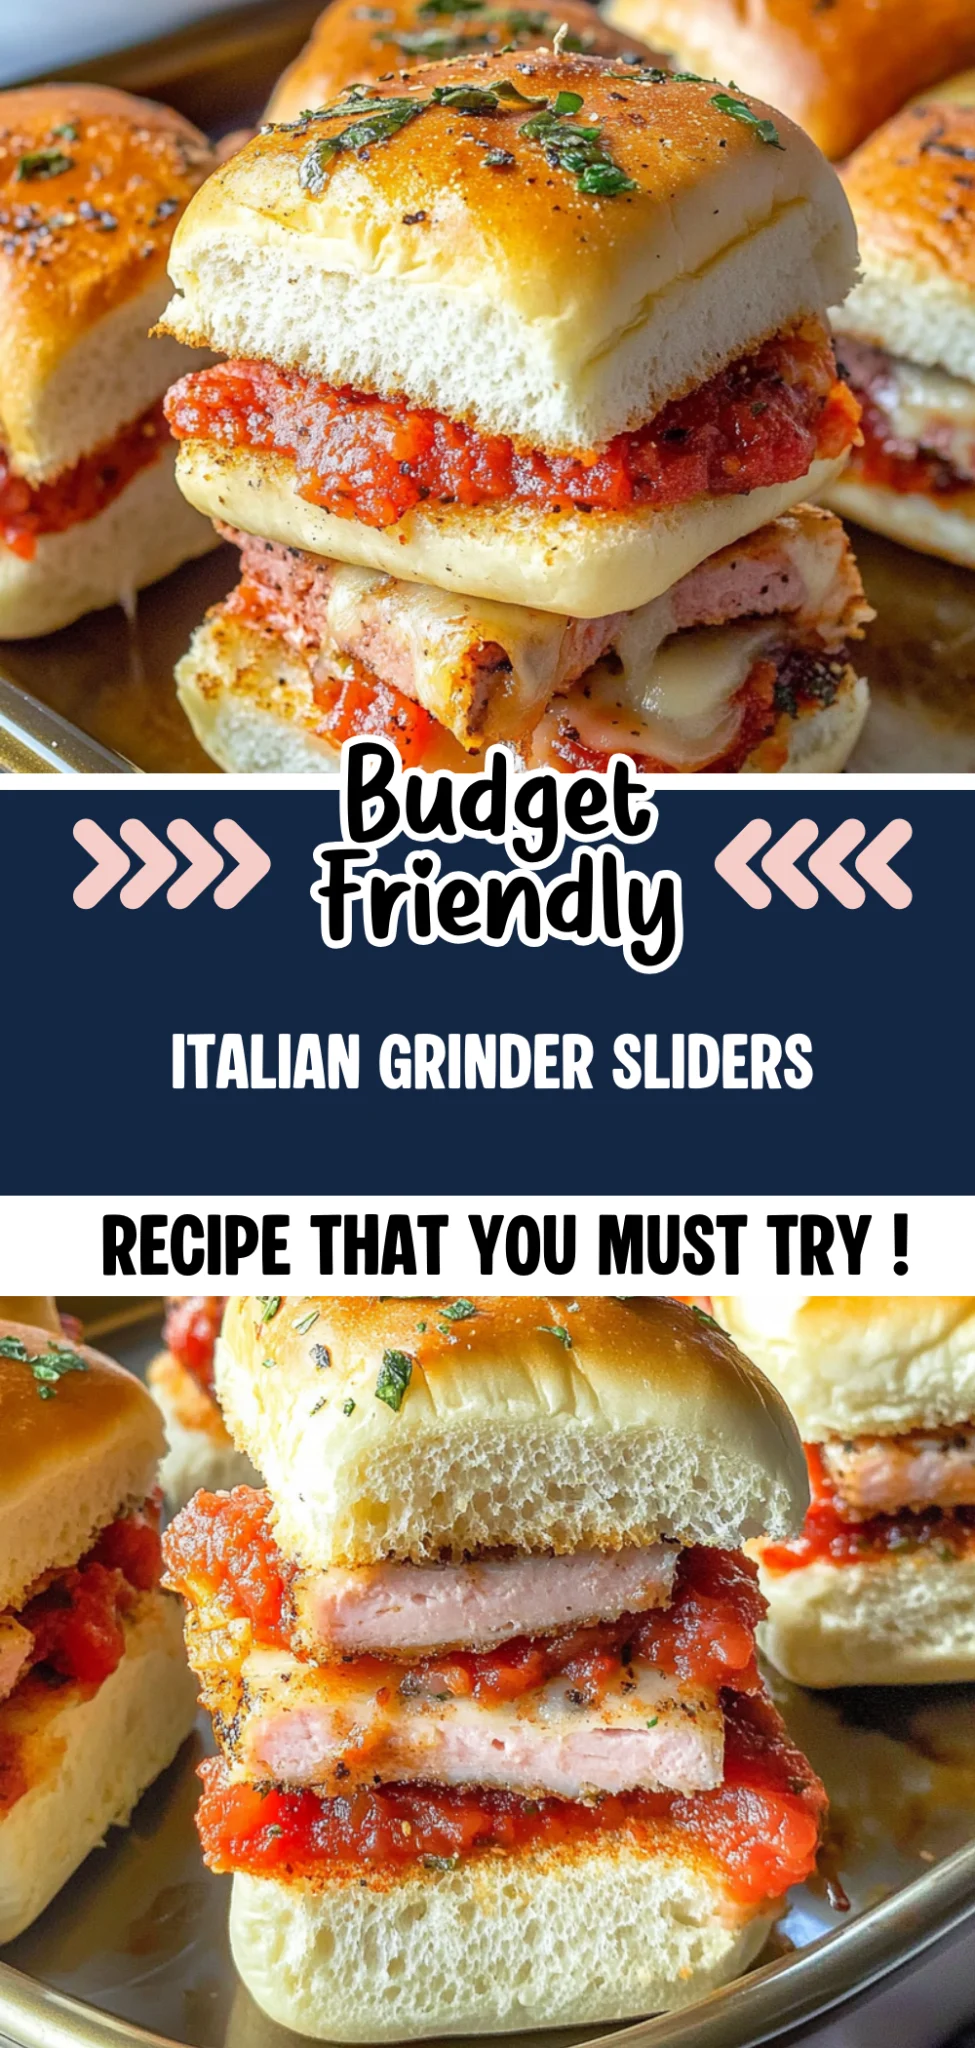
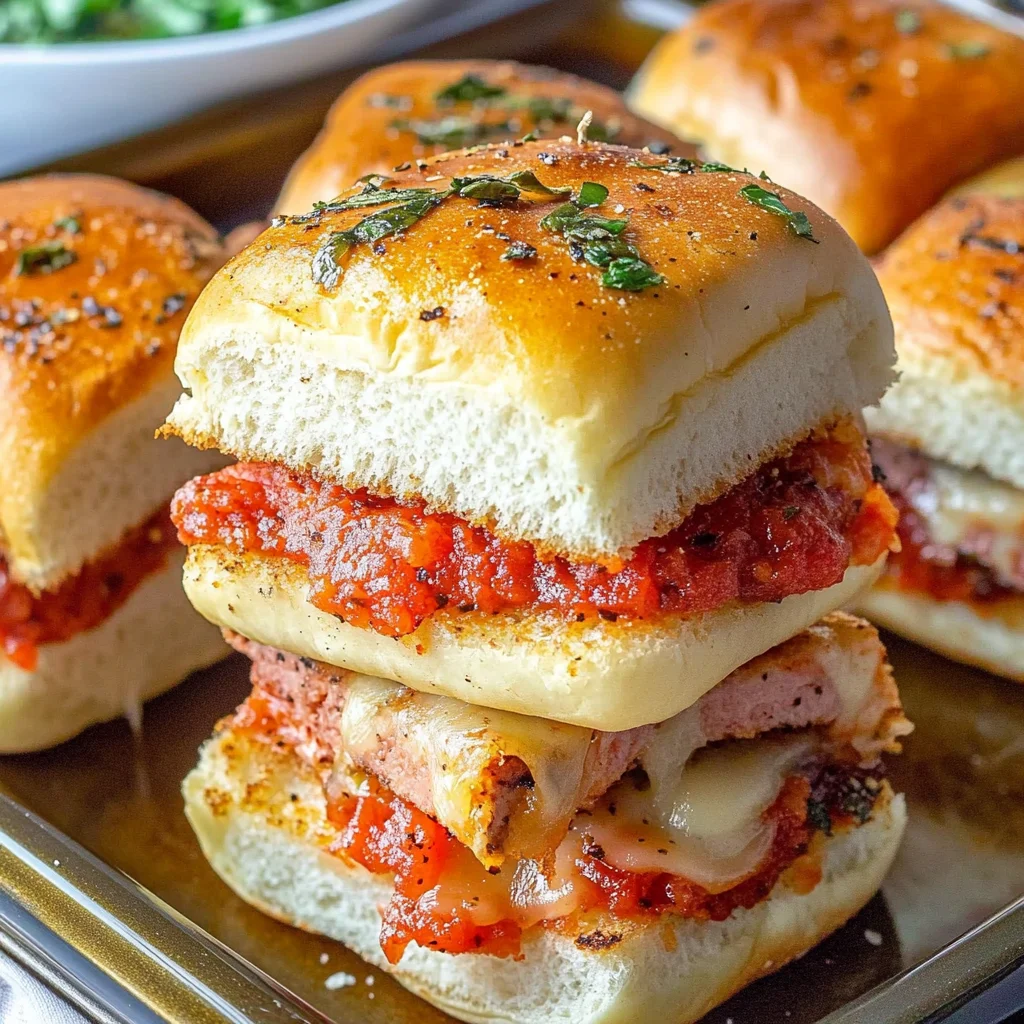
The moment you take a bite of Italian Grinder Sliders, your senses are enveloped in a symphony of flavors and textures. The warm, toasted bread gives way to layers of savory Italian meats and creamy cheeses, all drizzled with a zesty dressing that ignites the palate. Perfect for a cozy weeknight dinner or an elevated gathering with friends, these mini sandwiches deliver both comfort and gourmet flair in every mouthful.
What sets these Italian Grinder Sliders apart is not just their delightful combination of ingredients but also the balance of freshness and richness achieved through simple yet effective techniques. A touch of fresh herbs elevates the classic filling, making each slider a burst of flavor that leaves you craving more. Gather your loved ones around the table and indulge in this irresistible treat that promises to bring joy and warmth to any occasion.
Why You’ll Love This Italian Grinder Sliders
These Italian Grinder Sliders are a delightful blend of flavors and textures that make them irresistible. The combination of savory salami, smoky ham, and creamy provolone nestled within soft slider buns creates the perfect bite, while the crunch of shredded lettuce and juicy tomatoes adds freshness to each mouthful. Drizzled with zesty Italian dressing and topped with tangy banana peppers, every slider bursts with vibrant flavors that dance on your palate. Plus, they are incredibly easy to prepare, making them an ideal choice for game days or casual gatherings. With these sliders in your hands, you’ll find it hard to resist going back for seconds—so why wait? Get ready to indulge!
What Kind of Slider Buns Should I Use?
For Italian Grinder Sliders, it’s best to use soft, pillowy slider buns or mini sandwich rolls. These buns provide the perfect balance of texture and flavor, allowing them to hold up against the savory Italian meats and zesty dressing without becoming soggy. Look for varieties that are lightly toasted or have a hint of sweetness to complement the saltiness of the salami and ham. If you can’t find slider buns, dinner rolls can be a suitable alternative; just keep in mind that they may be slightly denser, so you might want to adjust the cooking time to ensure they warm through without getting too tough.
Ingredients for the Italian Grinder Sliders
Each ingredient in this dish plays an essential role in flavor and texture. Here’s what you’ll need:
12 count slider buns: These provide a soft, sturdy base for our mini sandwiches.
8 oz sliced salami: Adds a rich, savory flavor that defines the Italian profile.
8 oz sliced ham: Contributes a mild sweetness and balances the saltiness of the salami.
8 oz sliced provolone cheese: Melts beautifully, adding creaminess and depth to each bite.
1 cup shredded lettuce: Offers a fresh crunch that complements the hearty meats.
1/2 cup sliced tomatoes: Brings juiciness and brightness to lighten the flavors.
1/4 cup banana peppers: Introduces a tangy kick that elevates the overall taste.
1/4 cup Italian dressing: Drizzled for a zesty finish that ties all the flavors together.
1 tsp dried oregano: Infuses an aromatic herbal note that enhances the Italian essence.
1 tsp garlic powder: Adds warmth and depth with its savory richness.
Step-by-Step: How to Make Italian Grinder Sliders
Preheat the Oven
Begin by preheating your oven to 350°F (175°C). This ensures that the sliders will bake evenly and the cheese will melt perfectly once you assemble them. A properly heated oven is key to achieving that delightful golden finish on your buns.
Slice the Buns
Carefully slice each slider bun in half horizontally. This creates a base for your delicious fillings and allows all the flavors to meld together beautifully. Take your time to ensure a clean cut, as this will help keep the toppings secure within the buns.
Layer the Ingredients
On the bottom half of each bun, start layering with sliced salami, followed by ham, and then add provolone cheese. Next, pile on a generous amount of shredded lettuce, followed by sliced tomatoes and banana peppers. The combination of these ingredients not only adds flavor but also creates a colorful presentation.
Drizzle with Dressing
Once you’ve layered the fillings, drizzle Italian dressing over the top of all the toppings. Be sure to cover everything evenly so that every bite is full of zesty flavor. The dressing also helps to moisten the ingredients and enhances their taste.
Season Generously
Sprinkle oregano and garlic powder over the assembled sliders for an extra punch of flavor. These seasonings complement the Italian meats and cheese beautifully, bringing out their savory notes. Use just enough to create an aromatic layer without overpowering the other ingredients.
Cap the Sliders
Place the top halves of the buns back onto each slider to complete them. This step seals in all those delicious layers and prepares them for baking. Ensure that each bun is aligned well for even cooking and presentation once they come out of the oven.
Bake to Perfection
Arrange your assembled sliders on a baking sheet and slide them into your preheated oven. Bake for about 10 minutes or until you see that the cheese has melted and the tops of the buns are slightly toasted. Keep an eye on them; they should be golden brown but not overly darkened.
Cool Before Serving
After baking, carefully remove the sliders from the oven and let them cool for a few minutes before serving. This resting time allows the flavors to settle, making each bite even more enjoyable. Serve warm for best results, and watch them disappear!
How to Serve and Store Italian Grinder Sliders
This recipe makes four hearty servings of Italian Grinder Sliders, perfect for a casual gathering or family dinner. Serve them warm on a platter with a side of crispy potato chips or a fresh garden salad to balance the richness of the meats and cheeses. For added flavor, drizzle some extra Italian dressing over the sliders, allowing it to soak into the buns and enhance each bite.
To store any leftovers, place the sliders in an airtight container in the refrigerator, where they will keep for up to three days. When you’re ready to enjoy them again, reheat in an oven preheated to 350°F for about 10 minutes, covering with foil to prevent dryness—this helps retain the moisture from the cheeses and preserves the softness of the slider buns. While these sliders are best enjoyed fresh, they can be frozen for later; just be aware that the texture may change slightly upon thawing.
Garlic Parmesan Fries
Crispy on the outside and fluffy on the inside, these fries are infused with a savory garlic flavor that complements the salty richness of Italian meats.
Caprese Salad
Fresh mozzarella, ripe tomatoes, and fragrant basil create a refreshing contrast to the hearty sliders while echoing their Italian roots.
Creamy Polenta
Smooth and buttery polenta provides a luxurious backdrop for the zesty flavors of the sliders, balancing richness with comfort.
Roasted Broccoli
The slightly charred edges of roasted broccoli add a delightful crunch and a hint of bitterness that perfectly offsets the rich flavors of the meats.
Bruschetta
Toasted bread topped with fresh tomatoes and herbs enhances your meal with bright acidity and texture, making it an irresistible appetizer alongside the sliders.
Classic Caesar Salad
The crisp romaine lettuce and tangy dressing in a Caesar salad offer a refreshing crunch that pairs beautifully with the savory elements of the sliders.
Frequently Asked Questions
Can I use turkey instead of salami and ham?
Yes, you can definitely substitute turkey for the salami and ham if you prefer a leaner option. Just make sure to choose a flavorful deli-style turkey to maintain the delicious taste of the sliders.
Are these sliders gluten-free?
Unfortunately, these Italian Grinder Sliders are not gluten-free due to the slider buns. However, you can use gluten-free slider buns to accommodate dietary needs while keeping all the tasty fillings intact.
Can I make these sliders ahead of time and freeze them?
Absolutely! You can assemble the sliders, wrap them tightly in plastic wrap, and freeze before baking. Just remember to bake them directly from frozen, adding a few extra minutes to the cooking time.
How do I know when the sliders are done baking?
The sliders are done baking when the cheese is melted and the buns are slightly toasted. Keep an eye on them after about 8 minutes to ensure they don’t get too brown.
What if I want to spice things up a bit?
If you’re looking for a little extra heat, consider adding sliced jalapeños or a sprinkle of crushed red pepper flakes along with your other toppings. This will give your sliders a zesty kick that pairs well with the Italian flavors.
Final Thoughts
There’s something truly special about Italian Grinder Sliders that makes them a must-try for any gathering—these delicious mini sandwiches, loaded with Italian meats, cheeses, and a zesty dressing, are sure to impress your friends and family. For more delightful ideas, consider whipping up [Caprese Skewers] or [Pasta Salad with Italian Dressing] to create a perfect spread. Don’t forget to save this recipe on Pinterest and share your own creations with our community; we can’t wait to see how you make it your own!
Italian Grinder Sliders
Ingredients
Method
- Preheat the oven to 350°F (175°C).
- Slice the slider buns in half horizontally.
- Layer the bottom half of each bun with salami, ham, provolone cheese, lettuce, tomatoes, and banana peppers.
- Drizzle Italian dressing over the toppings.
- Sprinkle oregano and garlic powder on top.
- Place the top half of the buns on each slider.
- Place the assembled sliders on a baking sheet.
- Bake in the preheated oven for about 10 minutes, or until the cheese is melted and the buns are slightly toasted.
- Remove from the oven and let cool for a few minutes before serving.


Leave a Comment