Imagine sinking your teeth into a No Bake Protein Ball, where the rich nuttiness of almond butter melds seamlessly with the sweet undertones of honey and a hint of chocolate. Each bite offers a delightful contrast of chewiness and creaminess, while the aroma of toasted oats invites you to indulge in this satisfying snack, perfect for recharging after a workout or enjoying during a busy afternoon.
What sets these protein balls apart is their effortless preparation—simply mix, roll, and refrigerate, making them an ideal choice for those seeking nutritious convenience without sacrificing flavor. Enhanced with nutrient-rich ingredients like chia seeds and dark chocolate chips, they provide not just energy but also a touch of indulgence. Discover how easy it is to create these delightful morsels that promise both nourishment and joy in every bite.
Why You’ll Love This No Bake Protein Balls
You’ll fall in love with these No Bake Protein Balls for their delightful blend of wholesome ingredients and their satisfying texture that strikes the perfect balance between chewy and crunchy. The rolled oats provide a hearty base, while the creamy peanut butter or almond butter infuses each bite with rich flavor and healthy fats, making them irresistibly delicious. With a hint of sweetness from honey or maple syrup and the optional chocolate chips adding a touch of indulgence, these protein-packed morsels are perfect for an energizing snack anytime. Plus, they come together in minutes without any cooking, so you can enjoy them fresh and ready to boost your day—why wait?
What Kind of Rolled Oats Should I Use?
For this no bake protein balls recipe, it’s best to use old-fashioned rolled oats. This variety provides the perfect balance of chewiness and texture, allowing the balls to hold together while still offering a satisfying bite. Old-fashioned rolled oats absorb moisture well without becoming too mushy, which is essential for creating that ideal consistency in no-bake snacks. If you only have quick oats on hand, they can be used as a substitute; however, reduce the mixing time slightly, as they tend to break down more quickly than rolled oats and may result in a softer texture.
Ingredients You’ll Need
Each ingredient in this dish plays an essential role in flavor and texture. Here’s what you’ll need:
1 cup rolled oats (old-fashioned): Provides a hearty base with great texture.
1/2 cup peanut butter (or almond butter): Adds creaminess and rich, nutty flavor.
1/4 cup honey (or maple syrup): Serves as a natural sweetener to bind the ingredients.
1/2 cup protein powder (vanilla or chocolate flavor): Boosts protein content for a satisfying snack.
1/4 cup chocolate chips (optional): Offers a delightful touch of sweetness and indulgence.
1/2 teaspoon vanilla extract (optional): Enhances the overall flavor profile with warmth.
- 1/4 cup nuts (chopped, optional): Contributes crunch and additional nutrients for texture.
How To Make the No Bake Protein Balls
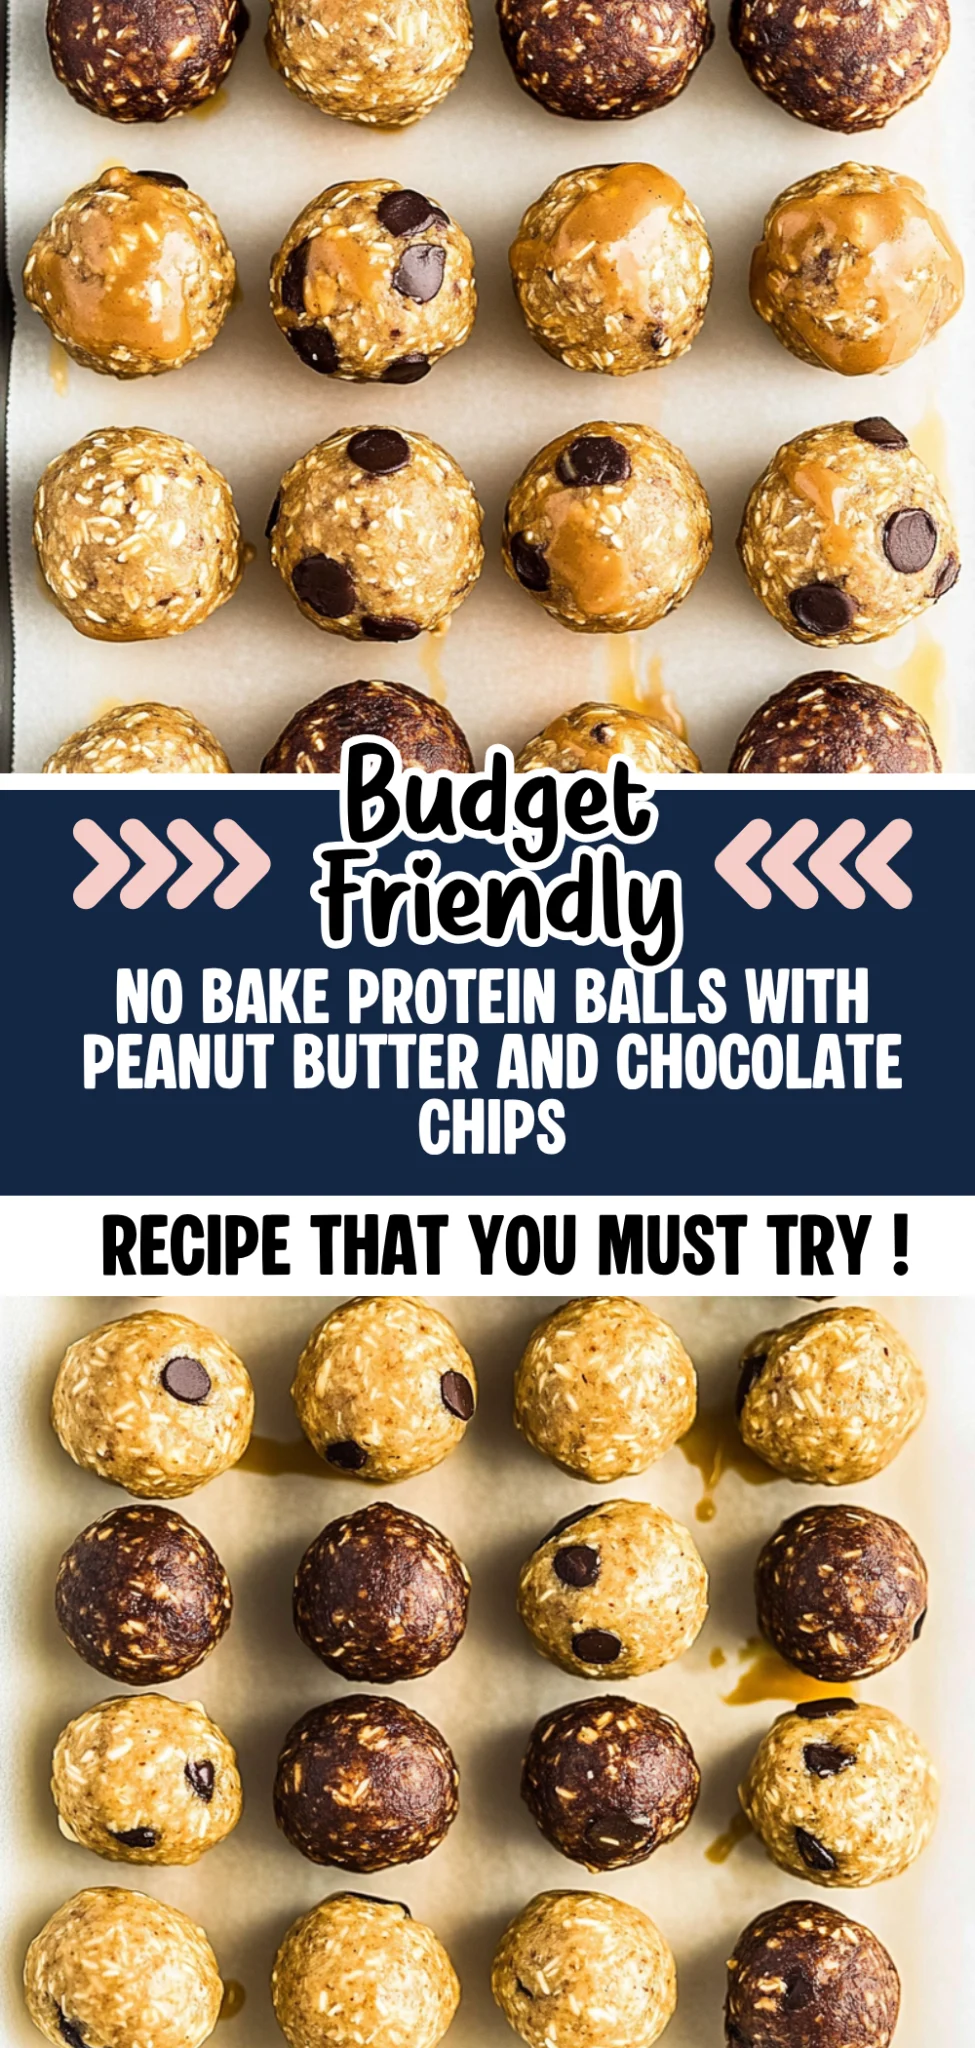
Combine the Base Ingredients
In a mixing bowl, combine 1 cup of rolled oats, 1/2 cup of peanut butter (or almond butter), 1/4 cup of honey (or maple syrup), and 1/2 cup of protein powder. If you’re adding chocolate chips, include 1/4 cup of those as well. Mix thoroughly until the ingredients are well combined, and a sticky mixture forms. This should take about 2-3 minutes to ensure everything is evenly incorporated.
Enhance the Flavor
Next, add in 1/2 teaspoon of vanilla extract and any chopped nuts you desire—about 1/4 cup will do. Stir the mixture again until these flavor enhancers are evenly distributed throughout the base. You’ll know it’s ready when the texture feels cohesive and slightly tacky to the touch.
Shape into Balls
Using your hands, scoop out portions of the mixture and roll them into small balls, about 1 inch in diameter. This step may take around 5-7 minutes depending on how many balls you decide to make. The key here is to ensure each ball holds together firmly without crumbling apart.
Arrange on Baking Sheet
Once shaped, place each formed ball onto a baking sheet lined with parchment paper. Make sure they are spaced out evenly to avoid sticking together while they chill. This arrangement allows for easy access later on when you’re ready to serve or store them.
Chill for Firmness
Refrigerate the protein balls for at least 30 minutes to help them firm up properly. During this time, they will lose some stickiness and become easier to handle. When they are ready, they should feel slightly firm but still have a soft texture when pressed.
Serve or Store
Finally, once chilled, you can serve the protein balls immediately for a quick energy boost or store them in an airtight container in the fridge for later use. They can last up to a week, providing you with convenient snacks whenever you need a nutritious pick-me-up!
How to Serve and Store No Bake Protein Balls
This recipe yields four delicious no bake protein balls, making them a perfect snack for sharing. Serve them alongside fresh fruit like apple slices or banana halves for a refreshing contrast, or pair them with a dollop of Greek yogurt for added creaminess. You can also plate them on a rustic wooden board, garnished with a sprinkle of nuts or coconut flakes for an enticing presentation that highlights their wholesome ingredients.
To store any leftovers, keep the protein balls in an airtight container in the fridge, where they will stay fresh for up to one week. If you want to enjoy them warm, simply place them in the microwave for about 10-15 seconds; this helps maintain their chewy texture without making them too soft. While these protein balls don’t freeze particularly well due to their nut butter base, you can still freeze them if needed—just be aware that they might become slightly crumbly upon thawing.
What to Serve With No Bake Protein Balls
Sweet Potato Wedges
Roasted sweet potato wedges provide a natural sweetness that beautifully complements the nutty flavors of the protein balls.
Greek Yogurt Parfait
Layers of creamy Greek yogurt with fresh berries add a refreshing tang that pairs perfectly with the rich, nutty taste of the protein balls.
Quinoa Salad
A light quinoa salad tossed with lemon and herbs offers a fluffy texture and zesty flavor that enhances the wholesome goodness of the protein balls.
Whole Wheat Pita Bread
Soft whole wheat pita bread can be filled with hummus or fresh veggies, making for a delightful contrast to the chewy texture of the protein balls.
Roasted Brussels Sprouts
Crispy roasted Brussels sprouts provide a savory crunch that balances the sweetness from honey and chocolate in the protein balls.
Apple Slices with Almond Butter
Fresh apple slices dipped in almond butter create a refreshing crunch that echoes the nutty essence of your no bake protein balls.
Frequently Asked Questions
Can I use almond butter instead of peanut butter?
Yes, almond butter is a great alternative to peanut butter and will still provide the same creamy texture and nutritional benefits. Just keep in mind that it may slightly change the flavor of your protein balls.
Are these no bake protein balls gluten-free?
Yes, as long as you use certified gluten-free rolled oats, these protein balls can be gluten-free. Always check the labels on your ingredients to ensure they’re safe for your dietary needs.
Can I freeze the protein balls for later?
Absolutely! These protein balls freeze well. Just place them in an airtight container or freezer bag after they’ve chilled, and they can last for up to three months in the freezer.
How do I know when the protein balls are ready to eat?
Once you’ve formed the balls and refrigerated them for at least 30 minutes, they should be firm enough to hold their shape. If they feel too soft after chilling, consider adding a bit more oats or protein powder to help with firmness.
What flavors can I add to customize my protein balls?
You can easily customize your protein balls by adding ingredients like shredded coconut, dried fruits, or different flavored protein powders. A pinch of cinnamon or a dash of cocoa powder can also enhance the flavor profile if you’re feeling adventurous!
Final Thoughts
These No Bake Protein Balls are not just a snack; they’re a delightful way to fuel your day with flavor and nutrition, making them perfect for any time you need an energy boost. Explore other tasty options like [Chocolate Peanut Butter Energy Bites] or [Almond Joy Protein Bars] to keep your snacking game strong. We’d love for you to save this recipe on Pinterest and share your creations with us in the comments—let’s keep inspiring each other!
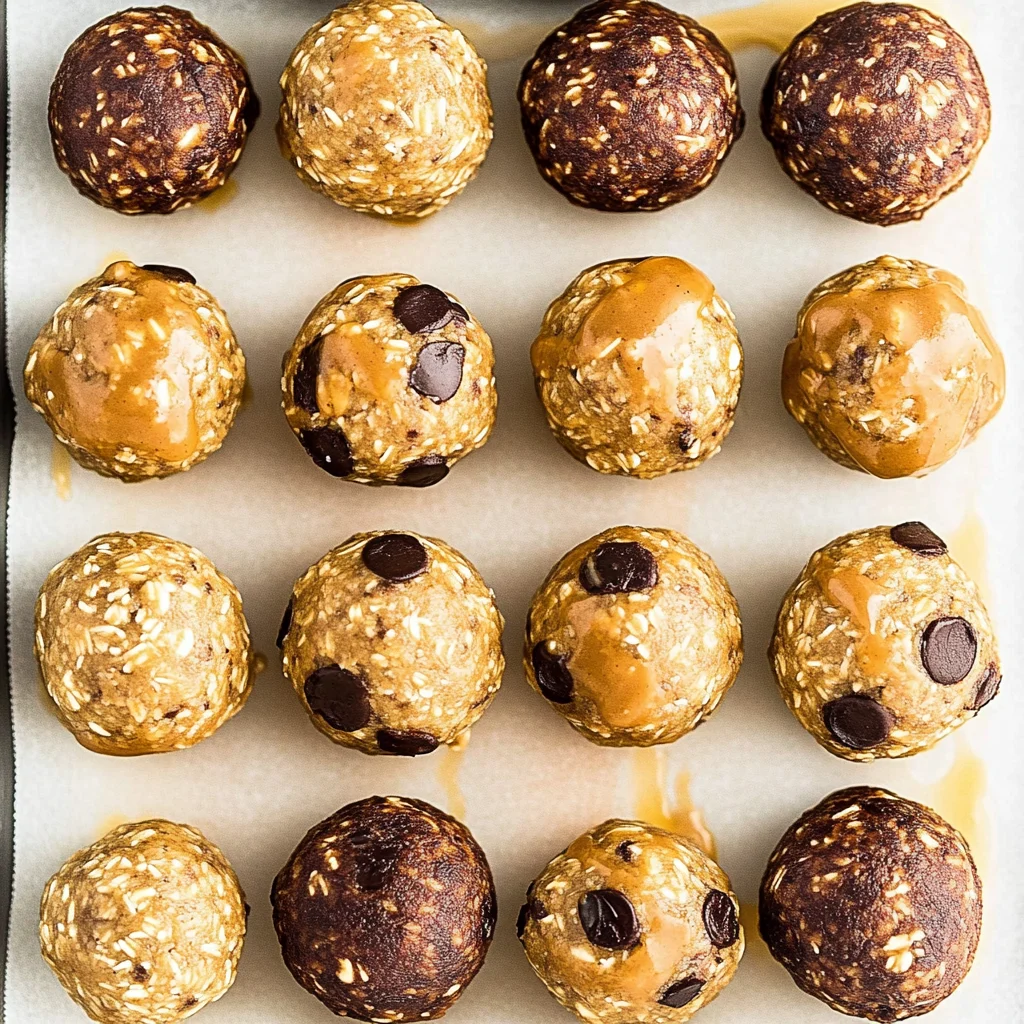
No Bake Protein Balls
Ingredients
Method
- In a mixing bowl, combine rolled oats, peanut butter, honey, protein powder, and chocolate chips.
- Add vanilla extract and chopped nuts if desired, and mix until well combined.
- Using your hands, form the mixture into small balls, about 1 inch in diameter.
- Place the formed balls onto a baking sheet lined with parchment paper.
- Refrigerate the protein balls for at least 30 minutes to firm up.
- Once chilled, serve immediately or store in an airtight container in the fridge.


Leave a Comment